

Sledgehammer is a target game where two players take turns kicking a ball at a single target, trying to knock it down. Because a miss leaves the ball wherever it stops, every shot sets up the next one and students learn to weigh accuracy against risk.
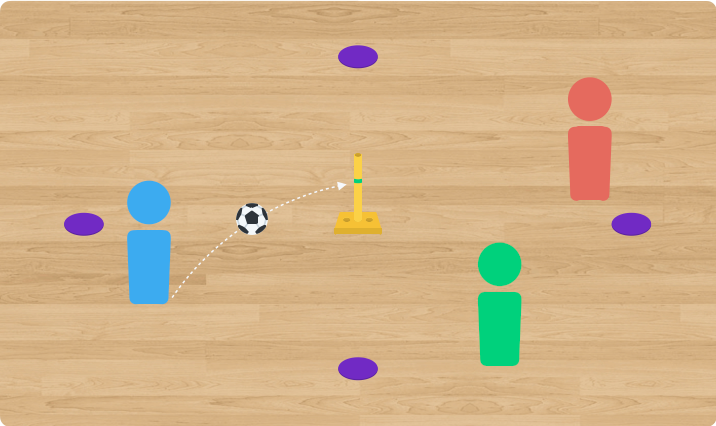
Everyone in the group stands behind the kicker, never beside or across from the Hammer.
Nobody retrieves a ball or resets a Hammer until the rally at their station has ended.
Space stations far enough apart that a badly struck ball cannot reach another group, and keep a clear walking lane between them.
Remind students to step around wicket bases rather than over them, since a base sitting flat on a gym floor is easy to catch a foot on.
If you are running the frisbee or thrown ball variation, make sure students are throwing in the same direction across all stations rather than facing each other.
Adjust the distance of the Launch Spots or the number of stumps in the target to increase or decrease the difficulty of scoring points.
If you are short on equipment, play in groups of three with two players and a Spotter who keeps score and calls the tape line. Rotate the Spotter role after every game.
The knowledge target only works if students have language for the factors, so name them explicitly. After build two, pull the class in and ask what made a shot hard. Steer the conversation until you land on the three factors: how far the ball is from the Hammer, the angle you have to it, and the score of the game. Put those three on a whiteboard and leave them up for the rest of the unit.
Students will name distance and angle on their own. The score almost never comes up until you ask about it directly, and it is the one that unlocks the understanding target.
This game works just as well with other implements. Try it with a frisbee, or with a tennis ball that students throw instead of kick. Just keep in mind that changing the implement changes the skill your students are practising, so make sure your learning targets follow the implement you choose.
This game was originally played with a sledgehammer as the target.
Hand this to a sub and walk away. Printable pages for every build, diagrams, discussion questions, teacher notes, and assessment ideas. All in one ready-to-print package so there's no sub plan to write.
#PhysEdU Plus includes instant access to every printable game sheet in ThePhysicalEducator.com's games database. $49 a year.
Builds allow you to increase the game's complexity, one layer at a time.
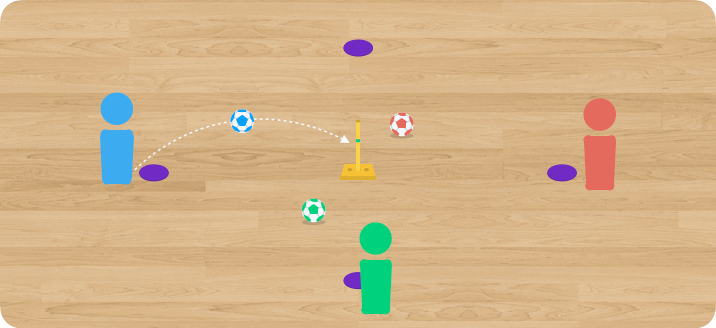
Each player has their own ball.
Players choose a Launch Spot and kick their ball, trying to get it to stop as close to the Hammer as possible.
Once both players have kicked, they walk over together, look at where the balls have come to rest, and agree on which one is closest.
The player whose ball is closest scores a point. Both players collect their balls and return to a Launch Spot of their choice.
First player to five points wins.
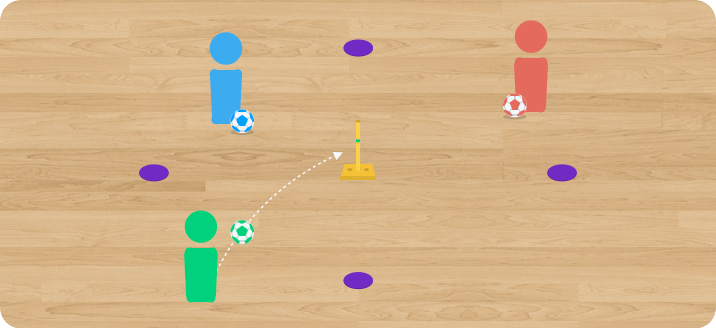
Each player still has their own ball, and now the Hammer is in play. Mark the stump with tape two thirds of the way up.
Players choose a Launch Spot and take turns kicking, starting with whoever wins Rock, Paper, Scissors. After the first kick, each player takes their turns from wherever their own ball came to rest. Balls stay where they lie, so players may need to work around their opponent's ball.
The first player to knock the Hammer down wins the round. Knocking it down below the tape is worth one point. Knocking it down above the tape is worth three.
Both players then collect their balls and return to a Launch Spot of their choice, with the player who did not win the round kicking first.
First player to eleven points wins.
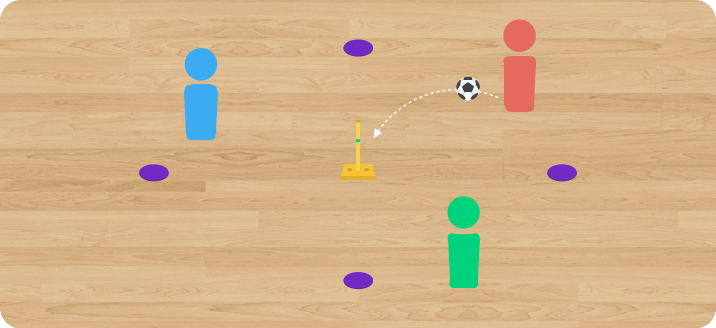
Play the full version of the game. The only change is that the players now share a single ball.
Play starts from a Launch Spot as before. If a player does not knock the Hammer down, their opponent takes the next kick from wherever the ball came to rest.
Play continues back and forth this way until somebody knocks down the Hammer. Knocking it down below the tape is worth one point. Knocking it down above the tape is worth three.
The player who did not score then takes the ball to the Launch Spot of their choice to restart play.
First player to eleven points wins.
Print the game sheet, leave it on your desk, and your sub has everything they need: the diagrams, the builds in order, what to say, and what to watch for. This one is $4. #PhysEdU Plus members get all 39, free forever, for $49 a year.
Games that build on the same tactics.


