The Breather Bench is a dedicated space within your gym that empowers students to self-regulate their emotions.


The Breather Bench is a dedicated bench in my gym where students can go to self-regulate.
It’s important to note that The Breather Bench is a tool, never a consequence. Although I can ask students to “Take a Breather,” it’s always in the spirit of providing them with a tool to help them get back to feeling good.
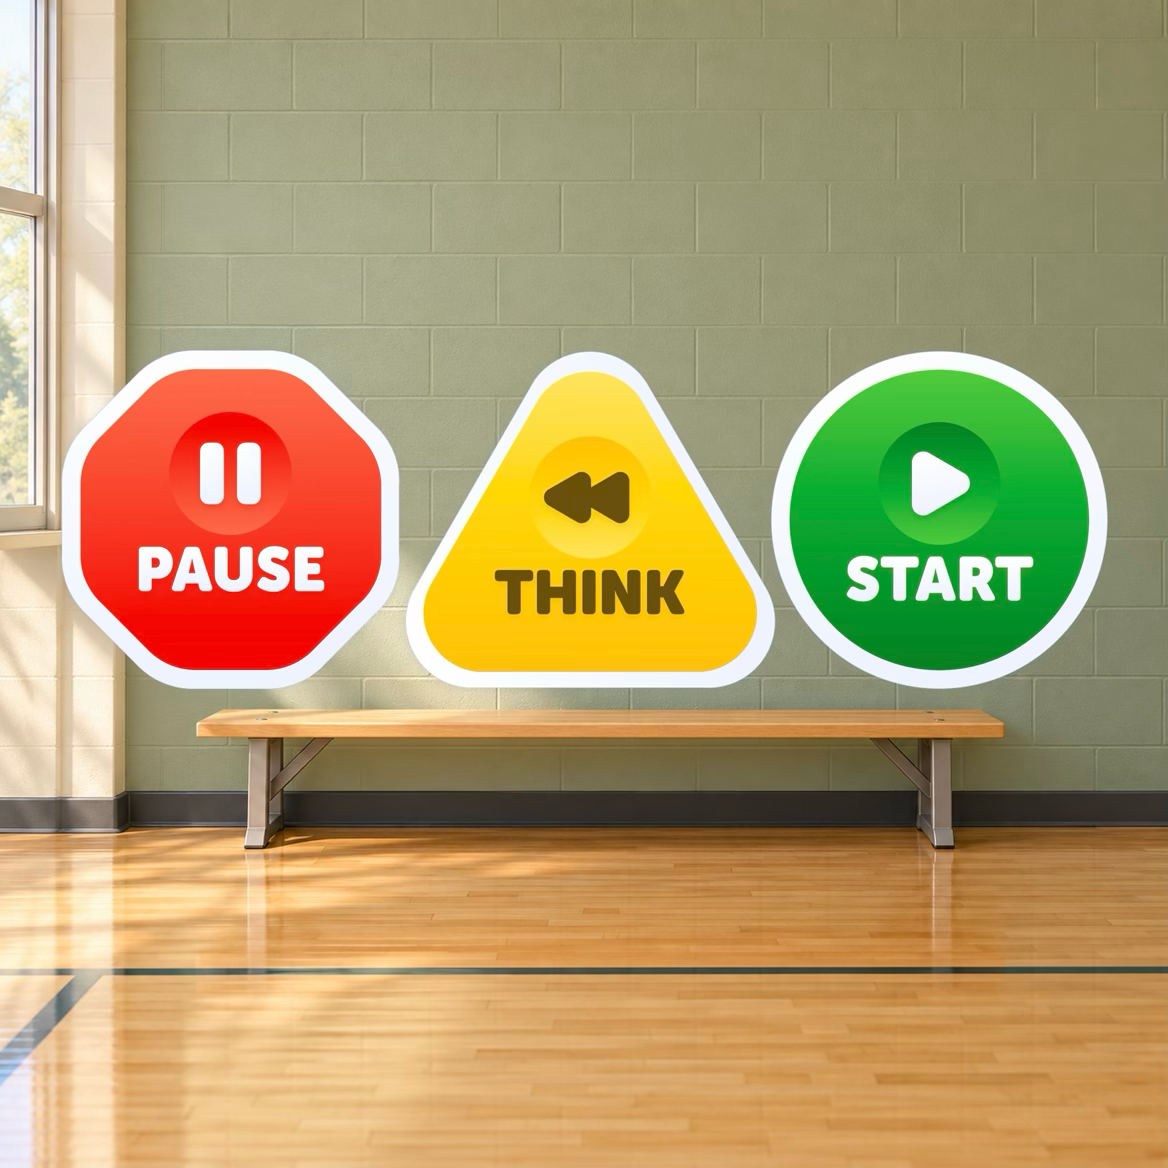
Inspired by the RULER framework, the Breather Bench has four steps, each with its own set of visuals (which have been Modge Podge’d to the bench itself):

When students arrive at The Breather Bench, they are presented with two resources: a graphic featuring four emotional zones and a two-minute timer (which is stored in a cup that I screwed into the bottom of the bench).

The goal of step one is to take a breather: to create some space between how you are feeling and how that feeling is causing you to think, act, and behave.
I’ve found that the physical sand timers serve as a great focus point for kids to allow themselves to separate a bit from the emotions that are causing them to be unregulated, and I often see students taking themselves to the bench for two minutes before returning to our activities.

The next step is for students to assess how their emotions are living in their bodies. To do this, they reflect on two distinct sensations:
❤️ Pleasantness: Is your body feeling happy or hurt?
⚡️ Energy: Is your body feeling wired or tired?
Both of these sensations are rated on a scale from 1-10, which students mark with glass beads that are stored in a cup under the bench.

Now that students have created some space between the emotions they are experiencing and themselves and have identified how those emotions are being physically experienced in their bodies, it’s time to give those emotions a label.

To do this, they will get to use the Mood Meter Wall Chart that I designed and have featured on my gym wall above the appropriate space on The Breather Bench. Here’s how I teach my students how to use the chart:

Finally, the fourth step of The Breather Bench allows students to decide whether they are ready to return to our lesson or if they need more time to sit with their emotions. It’s important to remember that both options are valid.
When students are feeling ready to switch gears, I created a set of 24 Calm Cards that can help them do so. Each card features a strategy (requiring no or very limited equipment) that can help the student regulate their emotion so that they can experience wanted feelings.

And that’s it! The Breather Bench was a big hit in class last year, with students even requesting copies of the Calm Cards for at home.
Let me know if you intend to bring The Breather Bench to your teaching!
Happy Teaching!
Buying the paid ones individually comes to over $400. #PhysEdU Pro puts the whole library in your account for $99 a year.